


Christmas is less than 50 days away, and I’m determined to give you a genuinely good gift idea every day, and I’ll keep adding to this post until we have the ultimate list. 50. Lola Blanket. The crazy sale is over, but you can still get 35% percent off with code JENHAWKINS. It’s truly the…
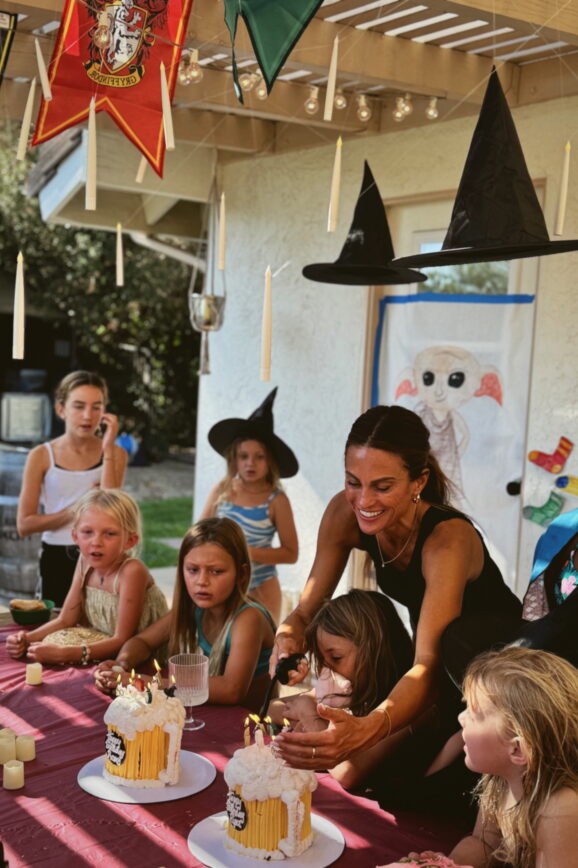
Romy & Piper’s 8th Birthday, Harry Potter Style
I truly cannot believe the girls are EIGHT! In my head I always kind of thought they’d suddenly seem “big” when they were 8—their baby faces would leave me and I would feel a shift, my little girls would be on their way to BIG. And I was right: their faces have thinned out, their…
The Outfits I took to Seattle
Some things I packed for a summer week in the Pacific Northwest…I’ve been super in to blue and white lately, and we were doing a lot of boating nautical things, so that’s definitely where my head was at when I packed for this trip!
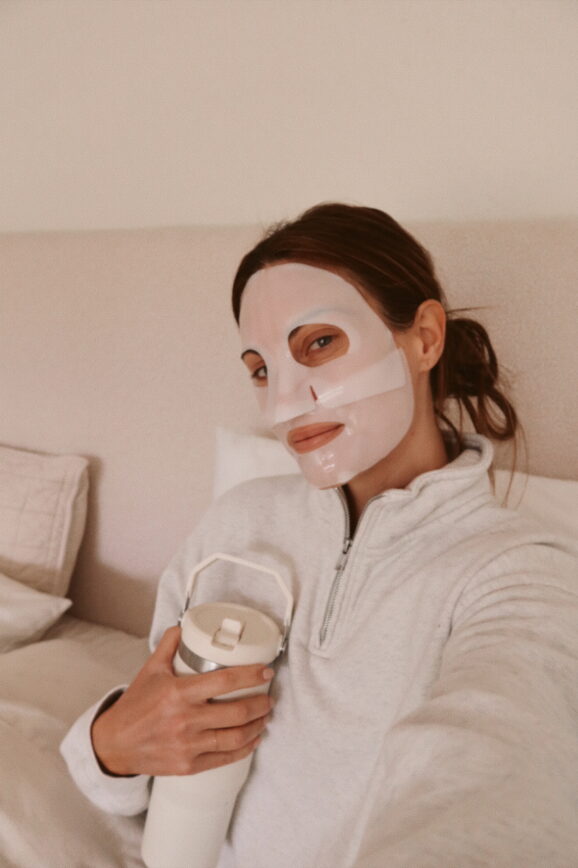
AMAZON PRIME DAY FAVORITES!
Hi team! If you’ve been around for a while, you know I’m not the type to get excited about a sale unless it’s GOOD – things that are super useful and very marked down! I would never ever shop a sale for the sake of shopping a sale. That being said, I have been really…
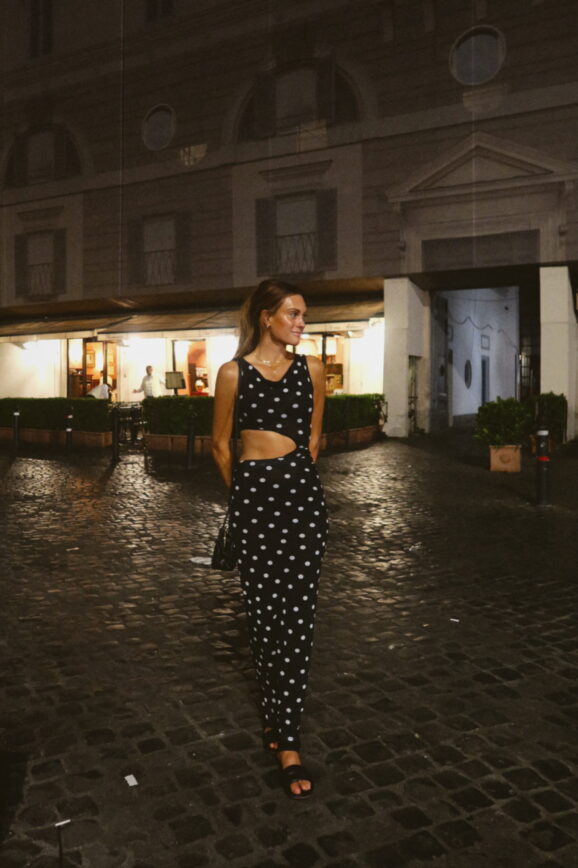
The Outfits I Took to Italy (Rome & Capri!)
A moment for the outfits! I was lucky to get hauls from a couple of brands, which made packing for this trip so much easier…and even FUN?! I want to link it all here while you can still get it – keep scrolling for anything you saw (and all the things you didn’t!) that I…
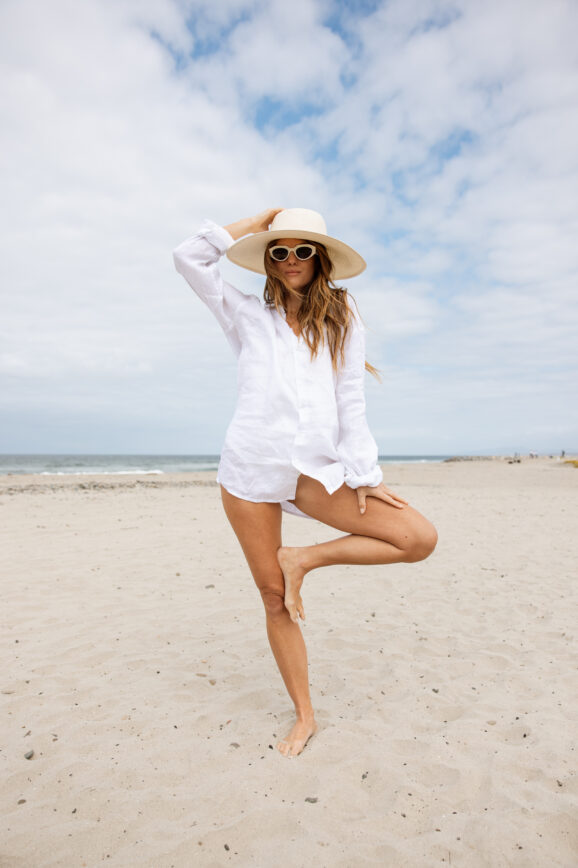
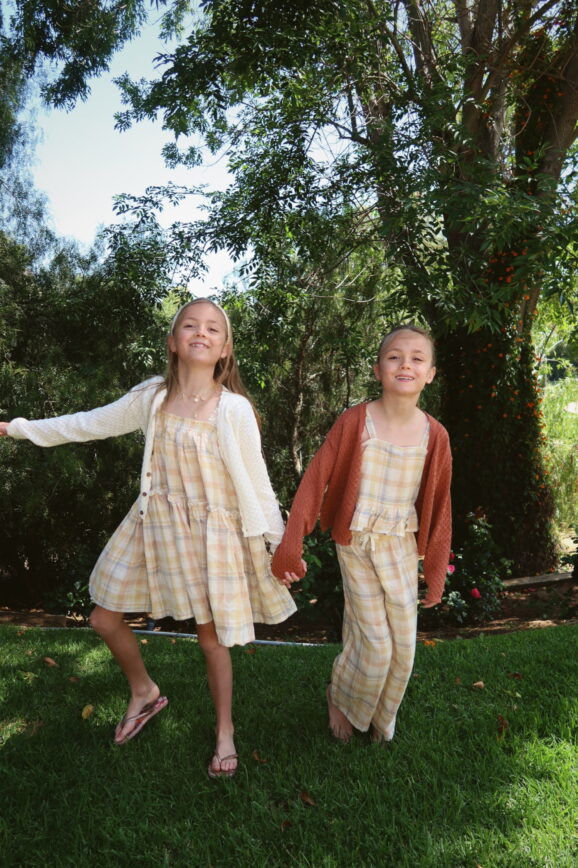
Linen for Life
I’ve been on a linen kick lately as the weather is warming up and I’m prepping for summer trips…who’s with me? As I was browsing I decided to start linking for you, and selfishly for myself in case I want to come back to any of this! **Side note, if you’re traveling with linen, I…
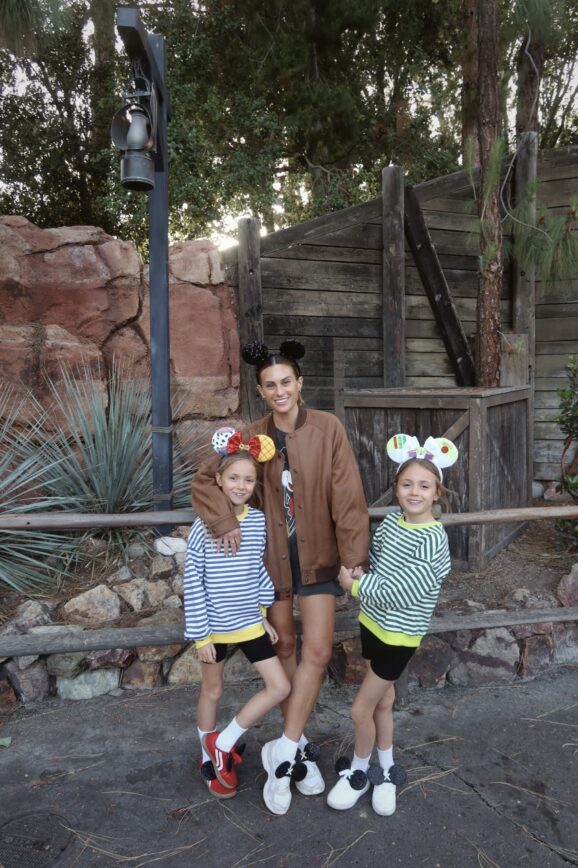
Disneyland like a Local
We’ve had the annual pass for locals since before the girls were born – not because I’m a Disney adult, but because we always wanted to be able to meet up with family and friends when they’d come to town to go. Now it doesn’t make as much sense to have for many reasons, but…
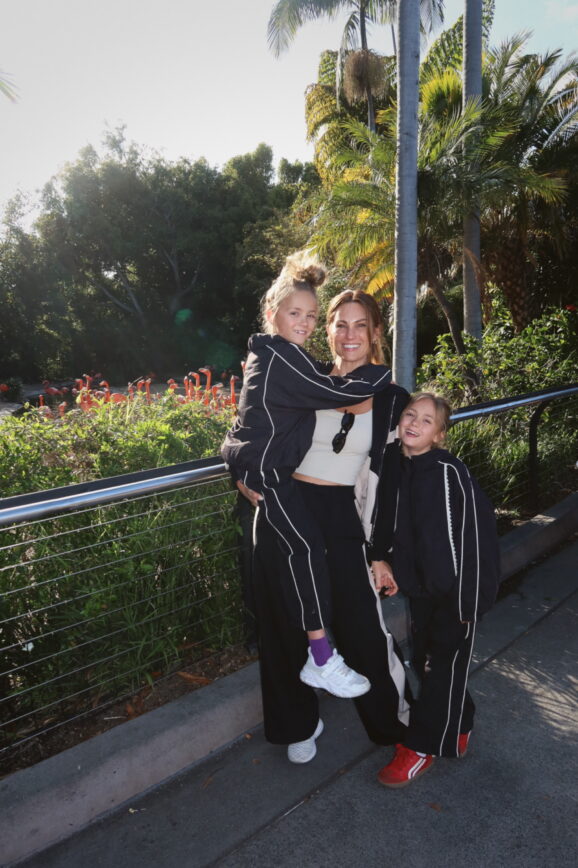
A Cozy Spring Break
We went on a little staycation for Spring Break this year – we stayed at the beautiful Hotel Del Coronado and went to the zoo. The weather was a little gloomy/chilly, so we stayed in comfy outfits as much as possible. We’ve been wearing these few outfits so much this spring, I’m giving them a…
Easter 2025 Recap + Links
I didn’t get it together in time to tell you what I was PLANNING to put in the girls’ baskets…and I don’t even feel like I have the energy to give a full recap of Easter here but I’ll attempt ;). It was sweet, the girls are such a cute age, and I treasure every…

Trying to Find a Springy Cocktail Dress Under $100…
I feel like I was off my game this time…and the dress I love the most is technically over $100 (I got it with a discount!) but I’m still posting here in case it’s helpful to anyone! It’s always annoying when you realize that spending more actually gets you more…better fit, quality, blah blah blah….